Creating a Blog
Create a drag-and-drop editable blog with Next.js
Creating your blog with Builder empowers your editors to build exciting blog articles in an intuitive drag-and-drop UI.
Setup

If you don't have one already, create an account over at builder.io/signup. It's free!
In this example we are also assuming you are a developer and will be connecting this blog to a custom website or app.
Creating a Blog article model
First, we need to make a model for our blog articles. Here's the how-to:
- Go to builder.io/models.
- Make a new model by clicking the + Create Model button and choosing Section.
- Name the model
Blog article. - Click the Create button.
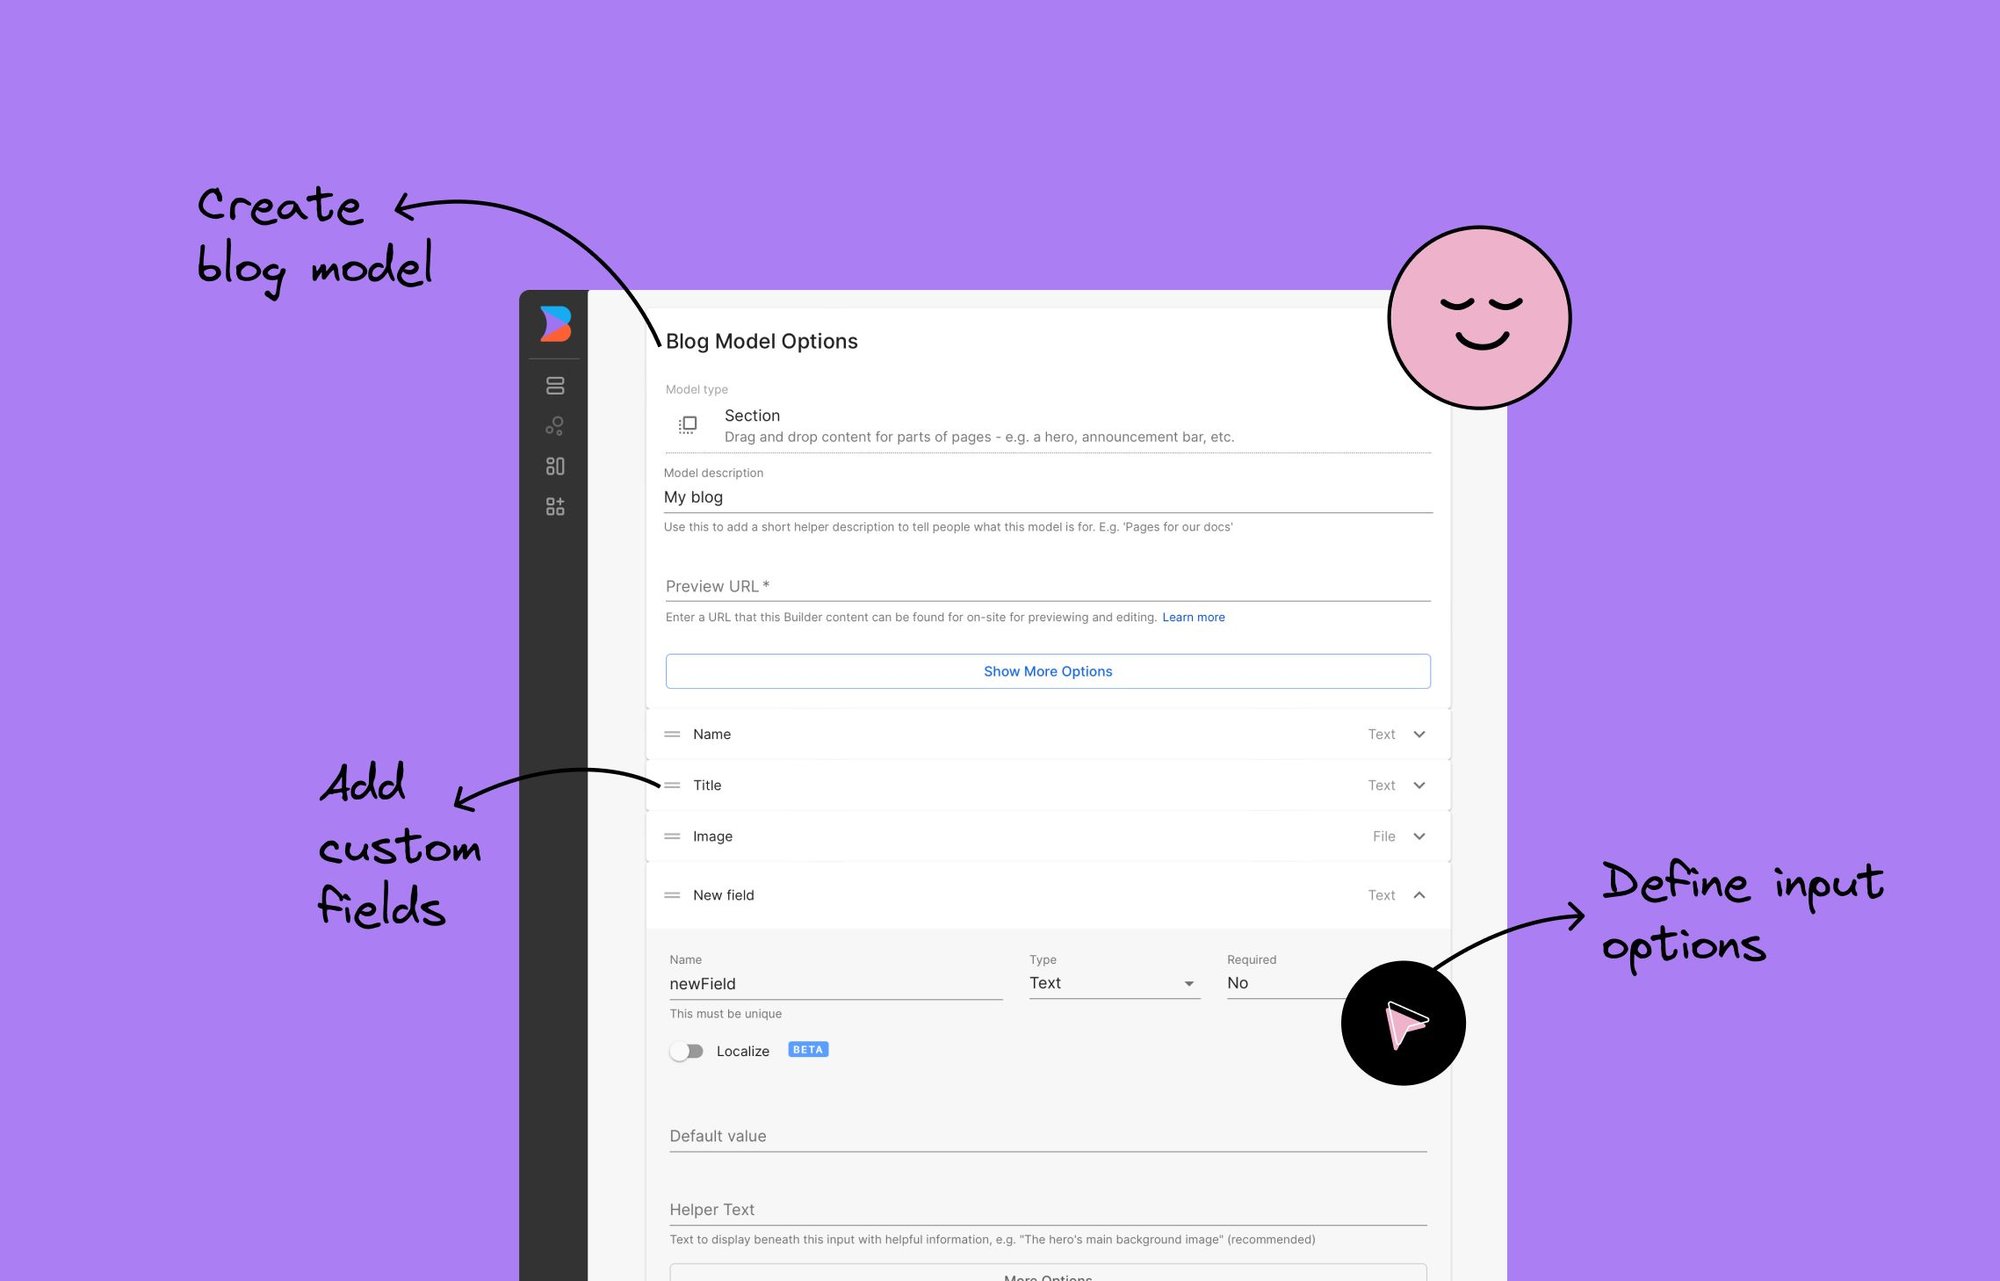
5. Next, add some fields. Lots of blog posts usually include the following fields:
The following video shows how to add each of these fields to the model and specify each type. You can define the options of each field, such as default values or whether the field is required, to meet your particular needs. In practice, you might also want to fill in the Helper Text field so editors know the purpose of each field:
The image below shows a still screenshot of these fields in the Blog article model:
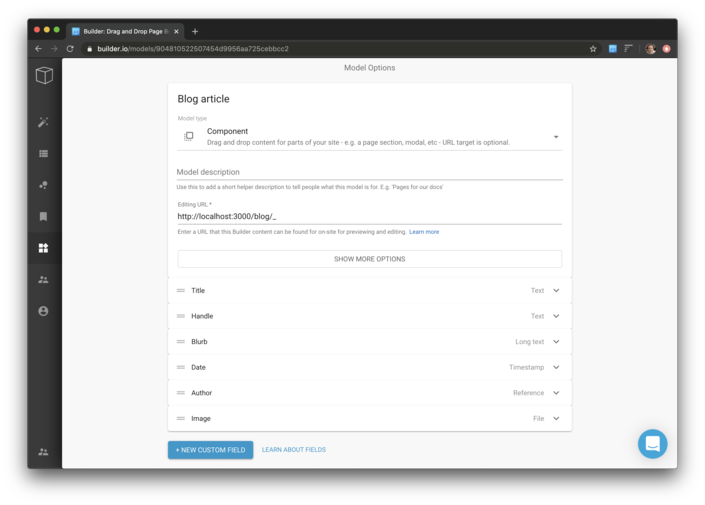

Tip: Consider marking some of those options, such as Title, Handle, Image, and Date required so the editor must enter those values to publish.
Connecting the model to a site
Now, you can query your Blog Articles using our Javascript SDK, Content API, or GraphQL API.
Displaying an article
Next, let's render an individual article.
Setting up preview by handle
Once you get the code setup locally, let's connect your local site to the Visual Editor. This will allow for accurate previewing and editing as well as using your custom components directly in the editor.
- Go to Models.
- Open the Blog Article model.
- Click on the code icon,
< >to the right of the Preview URL field. This opens a code editor with comments giving more context on this feature.
- Use the code below which tells the editor to show the page on the blog/[handle], then save model changes.

Tip: For more detailed instructions on using a preview URL, check out Editing and Previewing Your Site.
Create a Blog Article
Now you can go to builder.io/content, click + New Entry and choose Blog Article. You should now see the drag and drop editor loaded right onto your local site.
You can now create articles with drag-and-drop and publish them when you're ready.
To create a blog article content entry, do this:
- Go to Content where you should see the Blog article model in the list on the left.
- Click the + New button and select Blog article. The recommended fields we added in the first section of the tutorial are in the Options tab, ready for you to fill out.
- Add some content and publish!
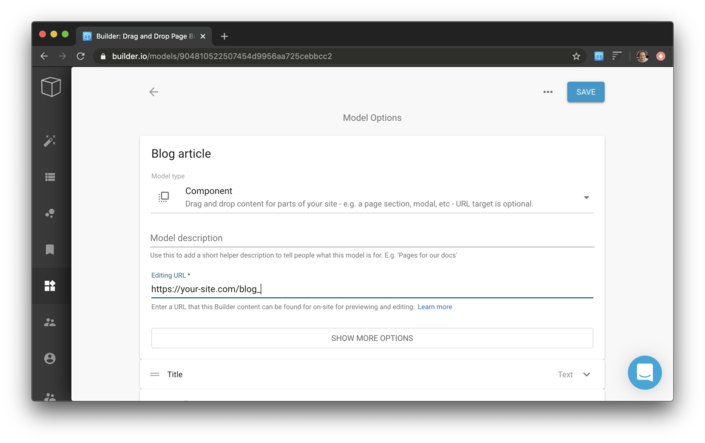
When you publish your site updates to production, make sure to update your editing URL to be a production URL, such as https://your-site.com/blog/_ and no longer localhost so other team members can create blog posts.
And that's it!
We've showed several key features here such as custom models, custom fields, and connecting to your website
If you have any questions, ask in our forum!


